Creating a Tour
Adding A Tour
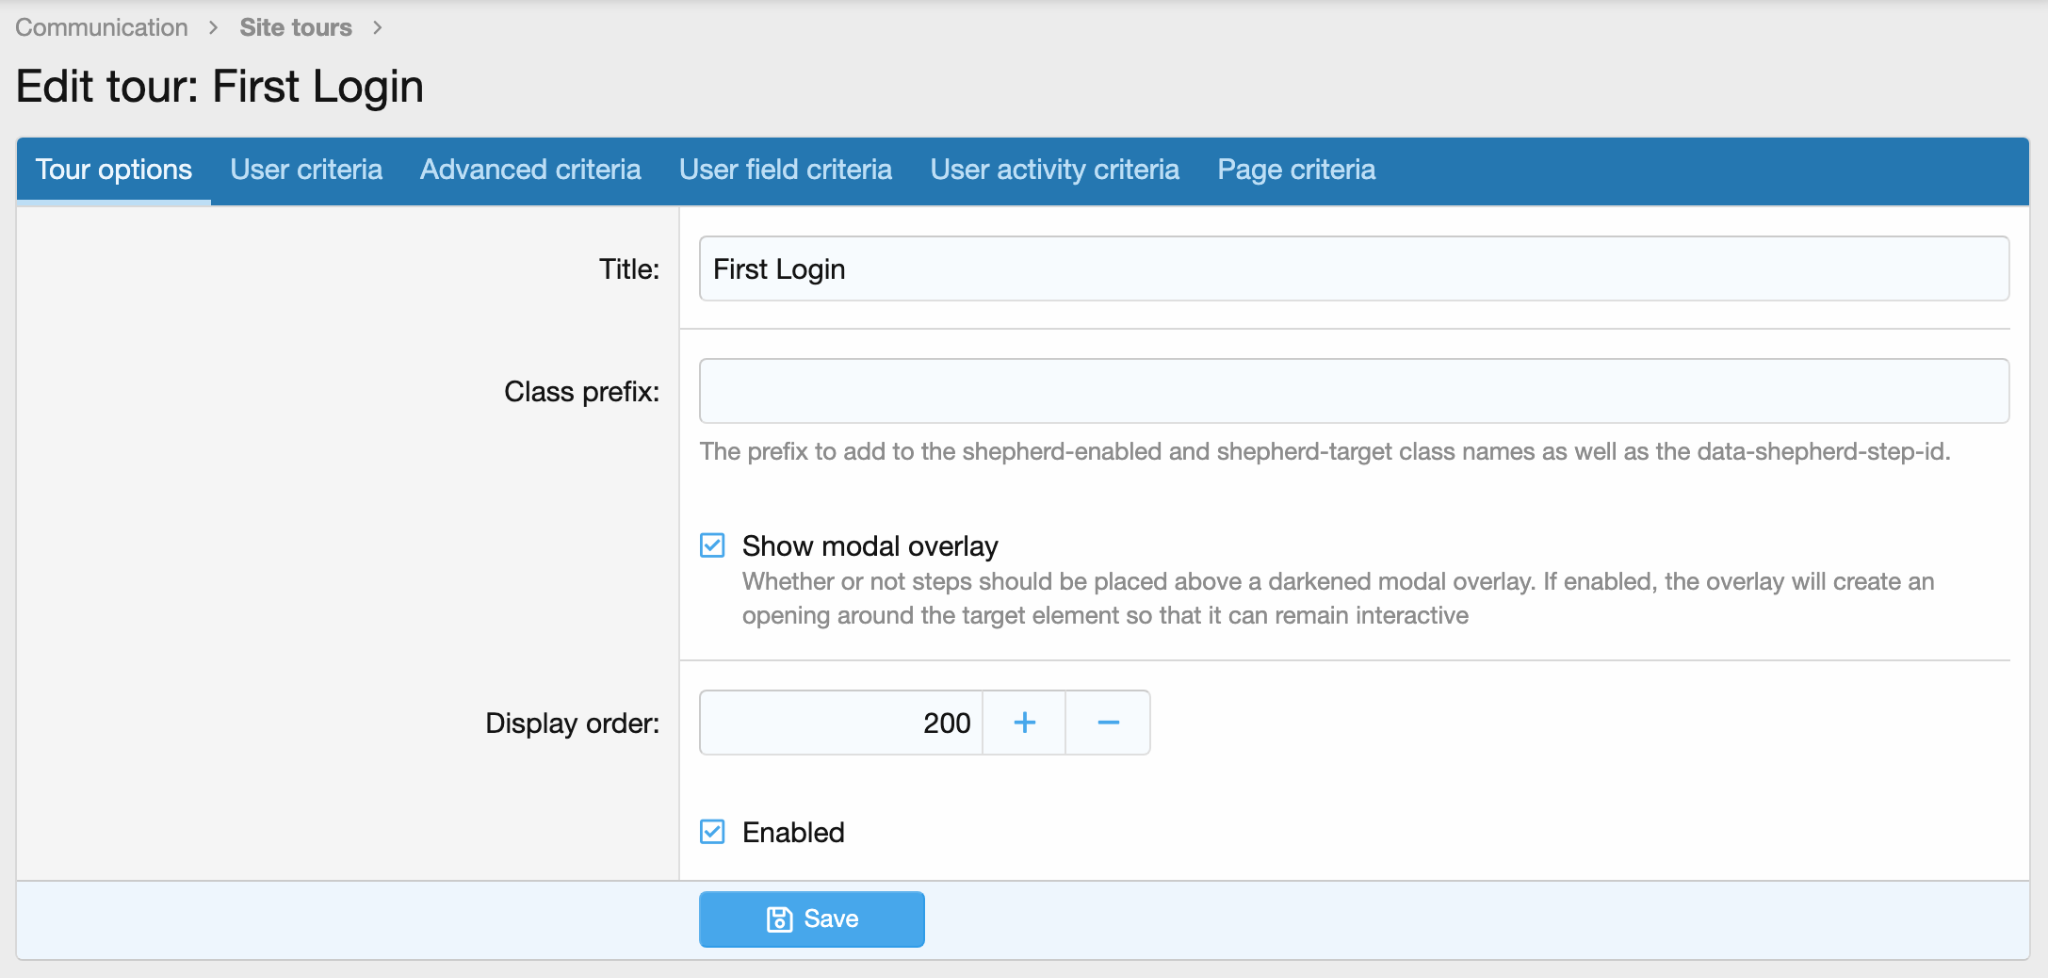
To add a tour, enter the site tour section in the Admin Control Panel found in Audentio Community > Site Tours. At the top of the page, you’ll see a button that says Add Tour. Give your tour a title related to what the tour is about.
Selecting Criteria
Before saving your tour, click the tab at the top of the tour setup called user criteria. Based on who your tour is meant to target, select your criteria here. Then save your tour.
Creating Steps
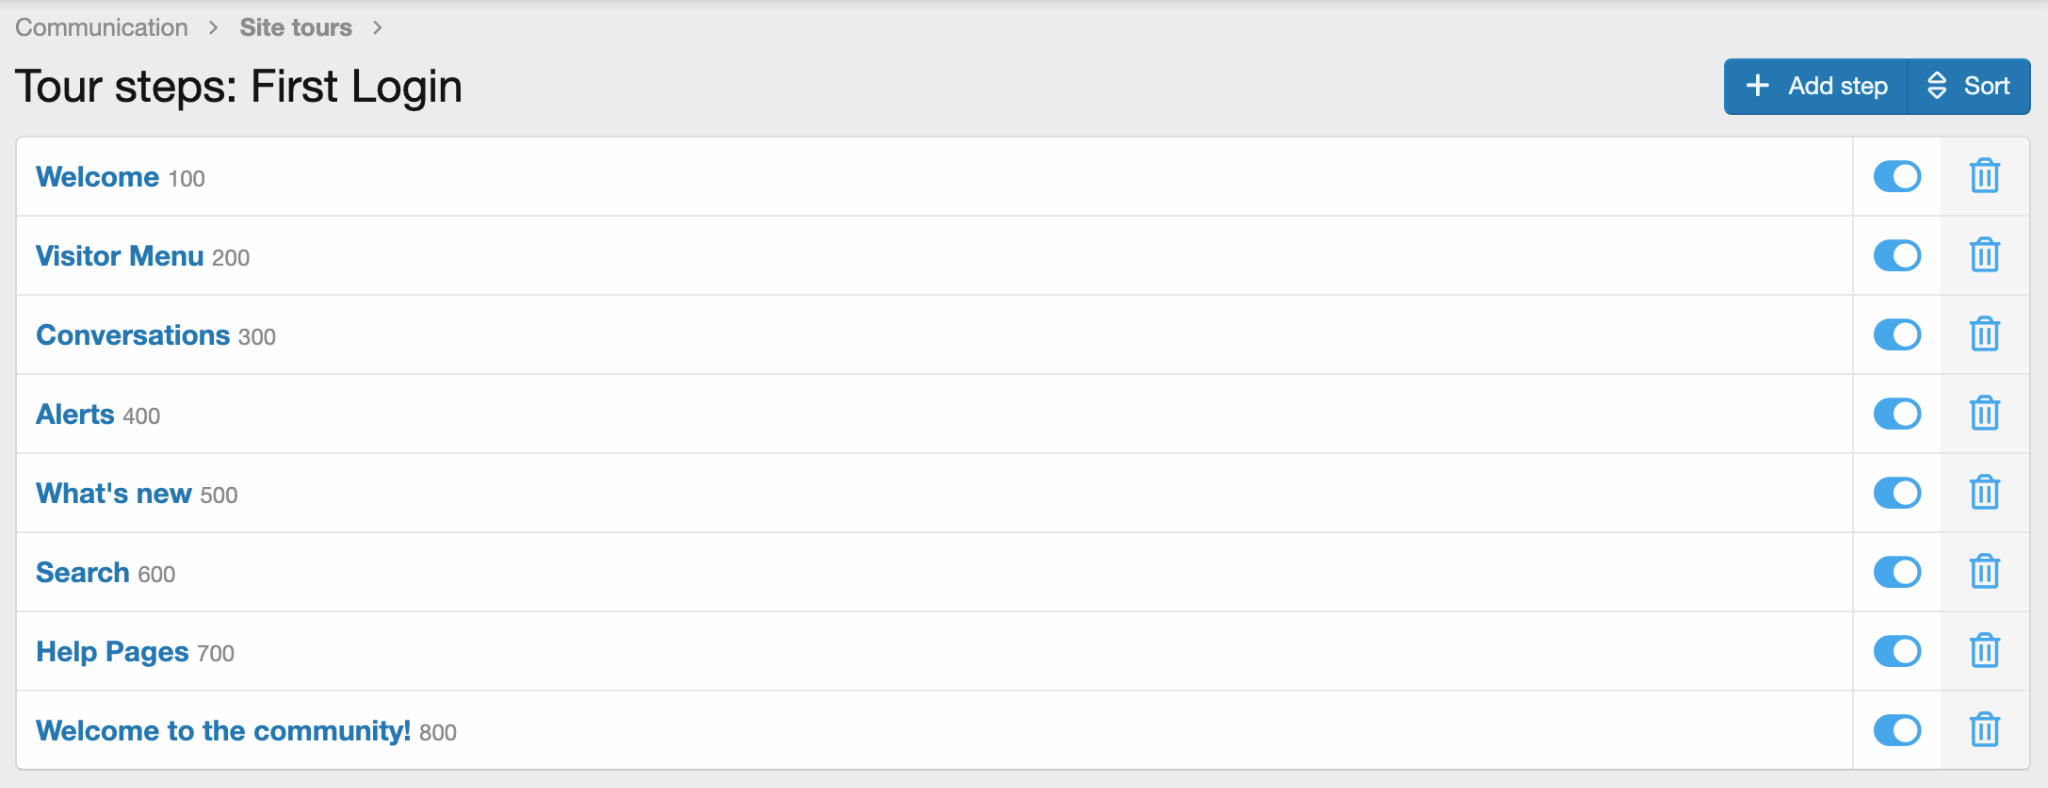
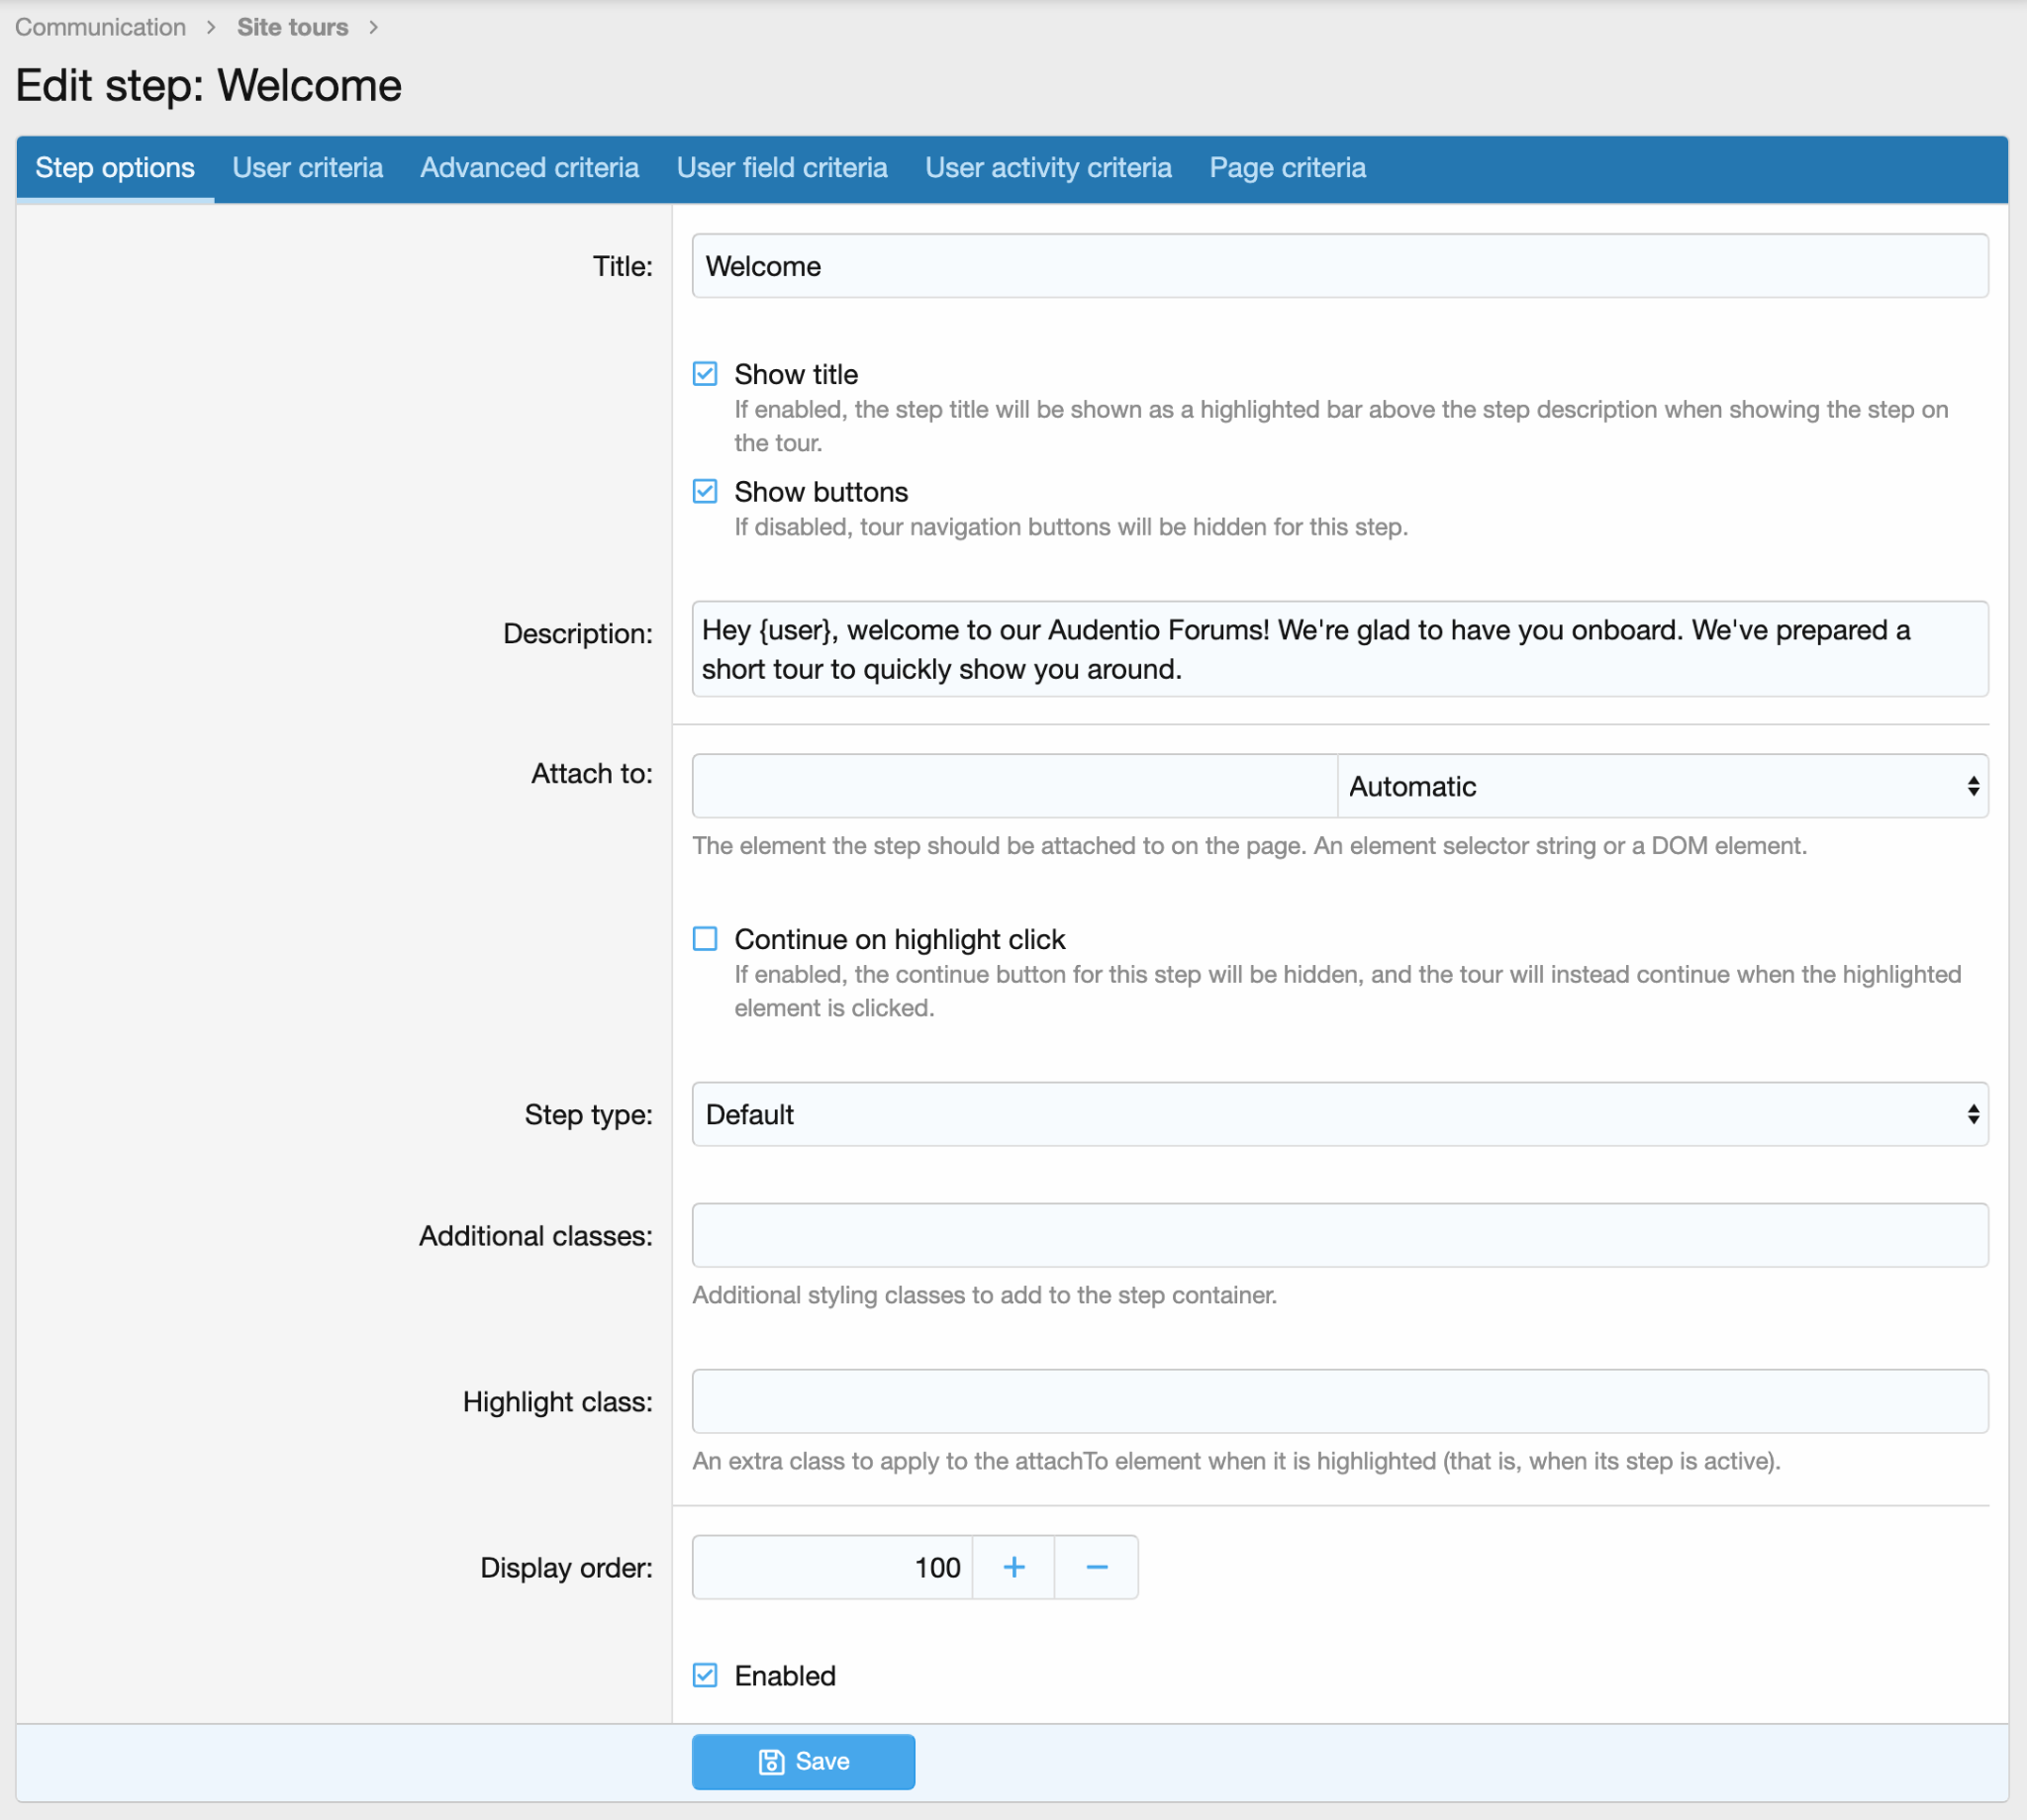
Next to the tour you just created click the steps button. Then click add step. Create a title for your step, a description (the title and description will show on the frontend), any class that the message will be attached to, and any additional criteria you would like to add.
Step Type Styling
There are 5 style types for steps and each has default styling:
- Default is blue
- Highlight is orange
- Success is green
- Warning is yellow
- Error is red
You should select the step type based on the type of message you’re trying to communicate. These colors can be changed in the appearance section of the admin control panel, but these are the default color options.